If you are getting married you know that you will have to invite your guests. Since the wedding invitation card is the first thing that guests see, it's not surprising that you need to pay more attention on this important first step. One great way to get a perfectly customized and one-of-a-kind, unique invitation, is to make it yourself.
Deciding to make your own wedding invitation card can be a little daunting at first, but with Greeting Box, you can end up with a custom photo wedding invitation in minutes. This article will teach you to make your personalized invitation card from start to finish.
Here you can directly download this software on your Mac. You never know what you can do with it till you try.

Launch Greeting Box on your Mac and you will see various templates for almost all holidays and occasions. Click Wedding under Occasions category, here a collection of wedding invitation templates are available to help you create romantic photo wedding invitations for your guests.
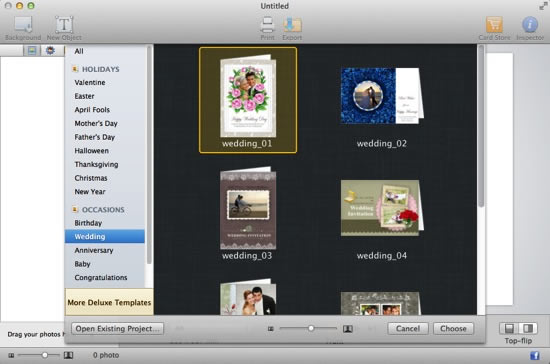
Double click to choose your favorite wedding invitation design. If you’re stuck for inspiration, templates are a great place to start.
Once you’ve chose the desired template you need, start to fill the blank frames on the template with your own photos. Click  in the upper left to open the Photo thumbnail panel where you can directly drag and drop your favorite photos into the frames. Also, you can press
  button at the bottom of the Photo thumbnail panel to add photos from local folders.
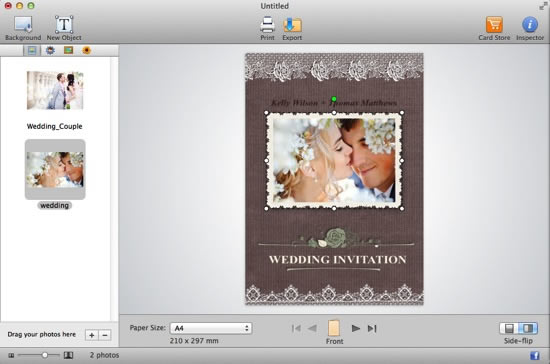
In order to perfectly show photo on the wedding invitation card, double click to crop it to show the exact part you like. You can also drag the handles to rotate and resize photos for best look.
There are some text coming up with the template, but you can change it to say anything that you like.
Select the existing editable text boxes and then input your own messages on the pop-up text inspector where you are given access to customize text style, color, size, alignment, and shadow, etc., as you need.
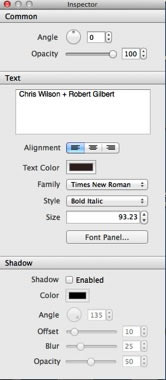
You can also click New Object → Text Object on the top of window to add a new text box into your card. You should never miss out the important info like your wedding date, address, etc.
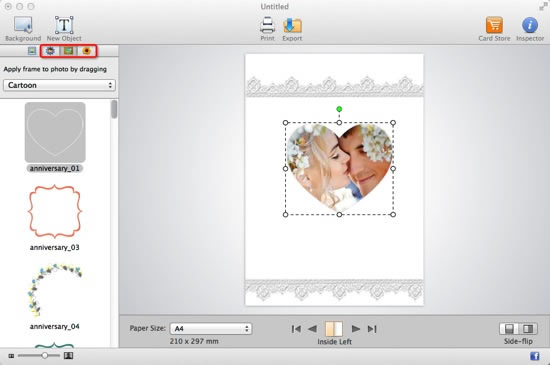
To make a more unique and stylish wedding invitation card, you can add delicate clipart, apply masks & frames and customize background to your liking.
Click  in the upper left to open the Clipart thumbnail panel. Use Drag & Drop to add clipart into the card.
Click  in the upper left to open the Frame thumbnail panel. Use Drag & Drop to apply frame on the photo.
Click  in the upper left to open the Mask thumbnail panel. Use Drag & Drop to apply mask on the photo.
Click the Background toolbar button to set the background for your card. You are free to set the background as a specific color or your own image.
When you are satisfied with your wedding card you can choose to Print or Export it. Click the Print toolbar button to go into the print mode and make print settings (Printer, Paper Size, Copies). Printing in half fold is available.
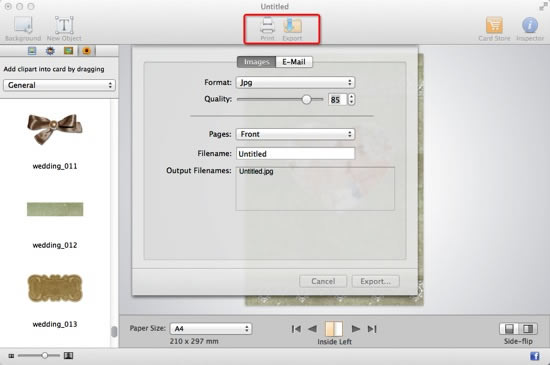
Click the Export toolbar button and make export settings (Format, Quality, Pages, etc.) to output your card as image or share via email.
Your wedding is one of the most personally special celebrations you’ll ever experience. Why settle for run of the mill wedding invitation cards when you can make your own wedding invitations for about the same price? Just try out this simple card maker today!
© Copyright 2020 PearlMountain. All Rights Reserved.